how to cast sand in resin

Creating a unique and captivating website article about casting sand in resin requires an in-depth examination of the process and its nuances. It should provide readers with valuable information and insights grounded in experience and expertise, while building trust and credibility. Below is a comprehensive exploration of this topic

how to cast sand in resin

Mastering the Art of Casting Sand in Resin A Step-by-Step Guide for Enthusiasts and Professionals The intersection of sand and resin presents an intriguing canvas for creativity and construction. From crafting personalized coasters to designing exquisite countertops, sand casting in resin allows artisans to encapsulate natural elements into permanent art forms. This guide will walk you through the process, offering expert tips and trustworthy insights to ensure successful outcomes.

how to cast sand in resin

Understanding the Basics of Resin Casting Resin casting is a technique where liquid resin is poured and cured within a mold. It allows for embedding objects like sand, shells, or stones, creating unique, durable, and visually pleasing items. The choice of resin is crucial; epoxy resin is highly recommended for its clarity and strength, offering ample time for work and stabilization. Selecting and Preparing Sand for Casting The type of sand you use dramatically impacts the final result. Fine, washed sand is ideal for maintaining clarity and minimizing bubbles. Beach sand, though tempting, often contains salts and organic material that can disrupt the curing process. For authenticity and texture, consider sandblasting sand or color-enhanced varieties. Wash and dry the sand thoroughly to remove impurities that could interfere with the resin. Tools and Materials You’ll Need 1. Epoxy Resin 2. Sand (cleaned and dried) 3. Mixing Buckets and Sticks 4. Mold Release Agent 5. Silicone Molds or Custom-Built Molds 6. Personal Protective Equipment (gloves, mask, goggles) 7. Heat Gun or Butane Torch Detailed Casting Process 1. Preparation and Safety Set up a well-ventilated workspace. Wear protective gear to guard against fumes and spills. 2. Mold Setup Apply a mold release agent to ensure easy removal of the casted piece. For custom molds, ensure they are sealed and free of leaks. 3. Mixing Resin Combine resin and hardener per the manufacturer's guidelines, usually requiring a 11 or 21 ratio. Stir thoroughly to integrate, being mindful of introducing minimal air bubbles.how to cast sand in resin
4. Sand Integration Gradually add the prepared sand into the mixed resin, stirring gently. This prevents clumping and ensures even distribution. Consider layering the sand with other decorative elements for enhanced visual depth. 5. Pouring the Mixture Carefully pour the resin-sand mixture into the mold. Use a heat gun or torch to remove surface bubbles, holding it a short distance above to prevent scorching. 6. Curing Allow the resin to set undisturbed for the recommended curing time, typically 24 to 72 hours. Maintain a stable temperature and humidity for optimal results. 7. Demolding and Finishing Once fully cured, gently demold the piece. Sand rough edges with fine-grit sandpaper. For a glossy finish, apply a thin layer of resin or use a polishing compound. Common Challenges and Solutions Bubbles Persistent bubbles can mar the final piece. Thoroughly degas the resin with gentle heat and consider introducing the sand under low vibration to aid in bubble release. Color Changes Sand can sometimes cause unexpected discoloration. Test small batches ahead to gauge interactions between the sand and resin. Breakages and Chips Improperly cured pieces are prone to fragility. Follow curing instructions meticulously and consider reinforcing larger projects with fiberglass mesh. Ensuring Long-Lasting Results To maintain the integrity of your sand and resin creations, avoid prolonged exposure to direct sunlight, as UV rays can cause yellowing. Regularly clean with non-abrasive cloths and mild soap. If used in functional items like countertops, reseal periodically to preserve gloss and water resistance. Conclusion Casting sand in resin inspires creators to blend texture and translucence into stunning art pieces. By adhering to the best practices outlined here, both beginners and seasoned artisans can harness this technique, crafting pieces that are as enduring as they are captivating. Through detailed preparation and a keen eye for detail, your resin creations with sand can transform into extraordinary fixtures, showcasing your craftsmanship and creativity.
Post time:1 月 . 31, 2025 00:35
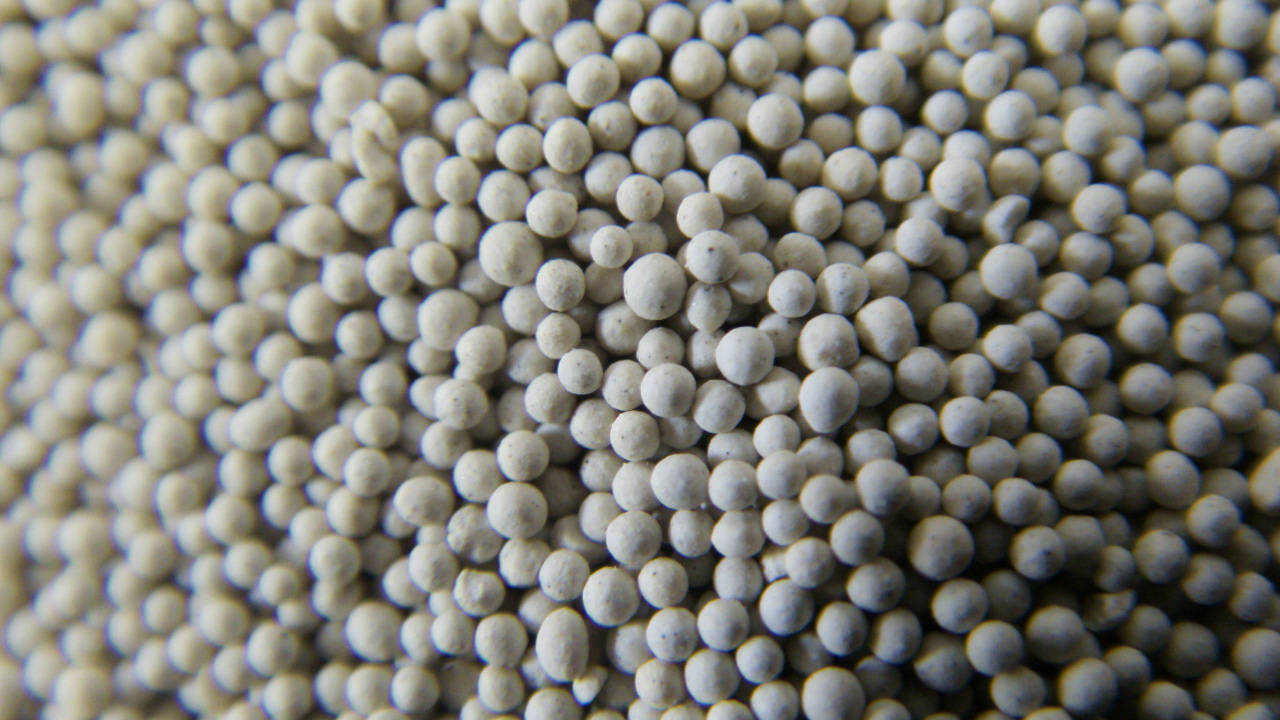
Next:
Leave Your Message

If you are interested in our products, you can choose to leave your information here, and we will be in touch with you shortly.